Citroën ID/DS sill welding
A detailed drawing of the discussed repair panels and home-made dolly can be found on page 2
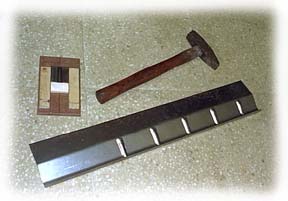
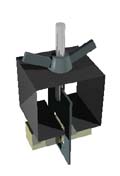
One of the weak points of the DS are the sills (sidemembers) as they are unprotected on the inside (bare metal). It is quite common that water leaks into the front part of the sills or that the interior near the sill and floor panel is wet for an extended period of time due to a leak somewhere in the front area. Some mice made things even worse as they had decided in the past to make that part of the sill thier temporary home. Because of this my DS needed a repair in the front section of the sill. Since my DS is of the type before 1967 it does not have the reinforced floor panel underneath the sill area. This means that the floor panel reinforcement groove on the side of the panel is faced outward in stead of inward, as with later panels. No repair sections are available for this type of panel. I decided therefor to make my own using a piece of 1mm metal sheet (as thick as the original floor panel), a hammer and a home made dolly as shown in the first picture.
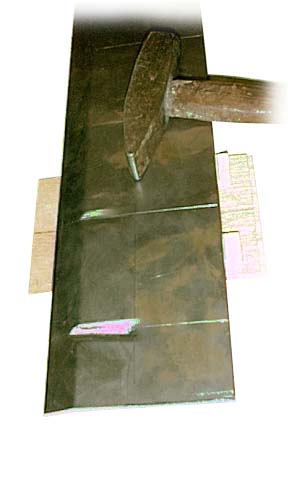
The home made dolly was a little piece of metal strip (40 x 46 x 8mm) in which I filed a groove being the negative form of the required reinforcement. I placed this dolly in a wooden fixture (90 x 150mm), which is aligned with the sheet metal by using guide lines as shown in the second picture.
The sheet metal was prepared with 2 folds near the edge of the panel, which will be welded onto the sill.
A heavy bank hammer was used to hammer the groove into the sheet metal. I ended up with an original looking groove in minutes. After doing all the grooves in the repair section (5 for the length I needed), the last fold in the sheet metal was made to finish the repair section.
Apart from the floor panel repair section, 2 other repair sections were needed to replace bad sections of the inner sill and crossmember under the front seat as shown in the drawing.
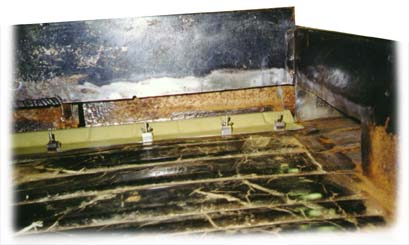
I started with welding the floor panel in place using little clamps I produced my self.
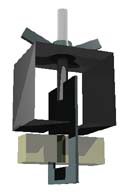
With these clamps it is easy to hold the panel in place for butt
welding. The floor panel was welded into the car using butt welds to connect the
repair panel to the original floor panel. Plug welds were used along the edge to
connect to the outer sill. As can be seen the panel was primed before being fitted.
After the welding the outer sill was also primed as with the other panels fitted this
area would not be accessible.
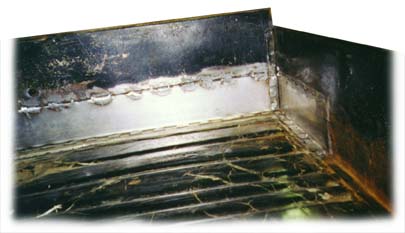
The other two panels were fitted as shown on the picture using a combination of plug welds and seam weld (as required for fitting repair panels in the Netherlands).
Rust was removed from the original panels and the repaired and cleaned sections were primed with an etching primer, sealed with 3M flexible sealer and painted with two-pack paint. Afterwards the original trimming is glued in place again.
- www.schaalbouw.nl/citroen © 2014 E.Paijmans
-

-

-

-

-

-

-

-
